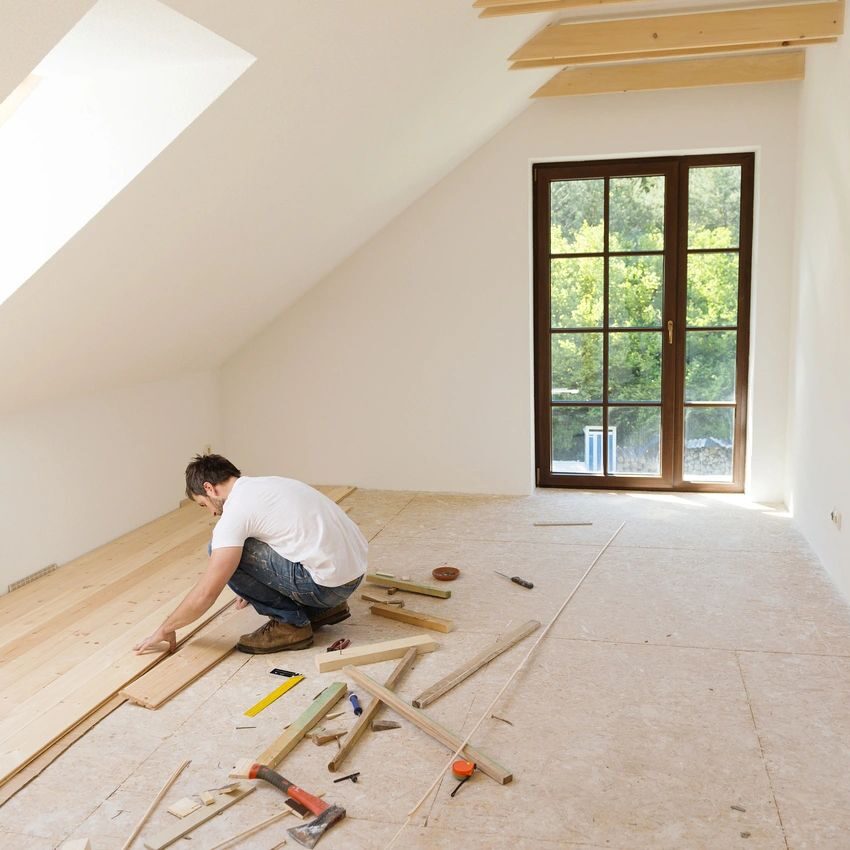
Leveling Uneven Floors
So, you’ve been living in your home for years (or maybe you just bought a home, I don’t know), but you started noticing that every time you dropped the ball – it rolled all the way across to the other side. You’ve also been feeling a little strange when you reach the other end of a room like you grew a few inches. And your nosey neighbor, Susie, always points it out when she uninvitedly comes over for breakfast. Do you know what your problem is? Yep, uneven floors that leveling. (Susie, too.)
Uneven flooring can be a nightmare for many. Some people may not notice it at first, but eventually, they will, and they’ll want to get it fixed. However, you may not have the budget to hire an expert (like us) and are looking for pocket-friendly ways to get it done. Don’t worry, Service Keepers has your back!
First, start off by trying to figure out the source of your problem. Most of the time, uneven floors are caused by improper subflooring work. Perhaps the floor experts you or the previous occupant brought in just weren’t floor experts. If your uneven floors are not due to a bad floor job, it could just be something as inevitable as wear and tear throughout the years. Whatever the cause or reason for having these ill-leveled floors may be, it’s important to get them restored. So, here’s three methods for leveling your floors that you can do yourself while staying on a budget:
Method #1: Plywood
You can use plywood to even out any curves that may exist in the subflooring of your floors. It’s perfect for existing wood surfaces – providing a solid, flat look once it’s properly installed. Plywood is a very easy-to-use material because it’s lighter than hardwood and therefore easier to cut down to the sizing you want. And here’s a bonus: plywood won’t cost you much (an average of $11 for a 4’x8’ sheet 5MM thick). Plus, plywood is an inexpensive alternative to getting that even hardwood finish on your floors. Win-win!
Method #2: Self-Leveling Underlayment
This following method is another way to fix your floors without leaving you completely broke. It involves 4 simple things: a gauge rake, smoother tool, self-leveling compound, and your floors. That’s it! How does it work Service Keepers Floor Whiz? Well, I’ll tell you:
- A self-leveling underlayment is a mixture that when gently poured onto your floors has the consistency of runny batter. It helps restore the evenness of the subflooring when dry. (Remember: we’re talking about subflooring here. If you want to even your floors out from above, you need a self-leveling topper.)
- As you pour the self-leveling underlayment, you take your gauge rake and ever-so-softly spread the mixture around. (It’s self-leveling, so it doesn’t need your help all the way.)
- Once you’re done evenly spreading it around, you can finish your floors with the use of a smoother tool. It gently breaks the surface tension, creating an even subflooring. And there you have it!
Using a self-leveling underlayment is the most comprehensive method: it works on most floor finishes, including concrete, hardwood, and tile. And just like plywood, it won’t cost you much: an average of $40 for a 50 lb. pail. When done right, your floors can turn out flatter than the Earth was once believed to be.
Method #3: Grinding
Grinding is a great method for achieving even floors without any application of mixtures or new surfaces. It basically requires you to get a grinding machine specific to your floor type (i.e., a concrete grinder for concrete floors or a sander for hardwood) and (you guessed it) grind your floors. The grinding method allows you to grind down any high spots that are significantly making your floors uneven. After grinding, you seal your floors for a finished look.
Although this method sounds simple, it has its moments of struggle. For one, the amount of dust that will come from grinding/sanding is overbearing. If not properly dressed for this event, the dust can agitate your eyes, nose, and lungs (to name a few places). Solution? Make sure to wear the proper gear to complete the job (face mask, gloves, safety goggles, etc.) This method will also cost you more than the previous floor-leveling processes. A concrete grinder can range anywhere from $500 to upwards $5,000. You can always simply rent a machine like this one, where a 4-hour use will cost you $145 (massive saving$$$ !!).
Grinding also takes a lot more precision. You need to make sure you’re measuring just how much you want to take off, and most importantly, make sure you don’t take off more than you need to. Otherwise, you won’t have much of a floor left to walk on. It’s a method most preferably left up to a professional. But hey, if you’re looking for a weekend project, this surely could be the one!
Now, if you have a budget to hire floor care experts, turn to Service Keepers to get the job done! With over 30 years of floor restoration experience, Service Keepers can ensure to provide you with a solution. Contact us today to schedule a free demo!
